Add and configure services
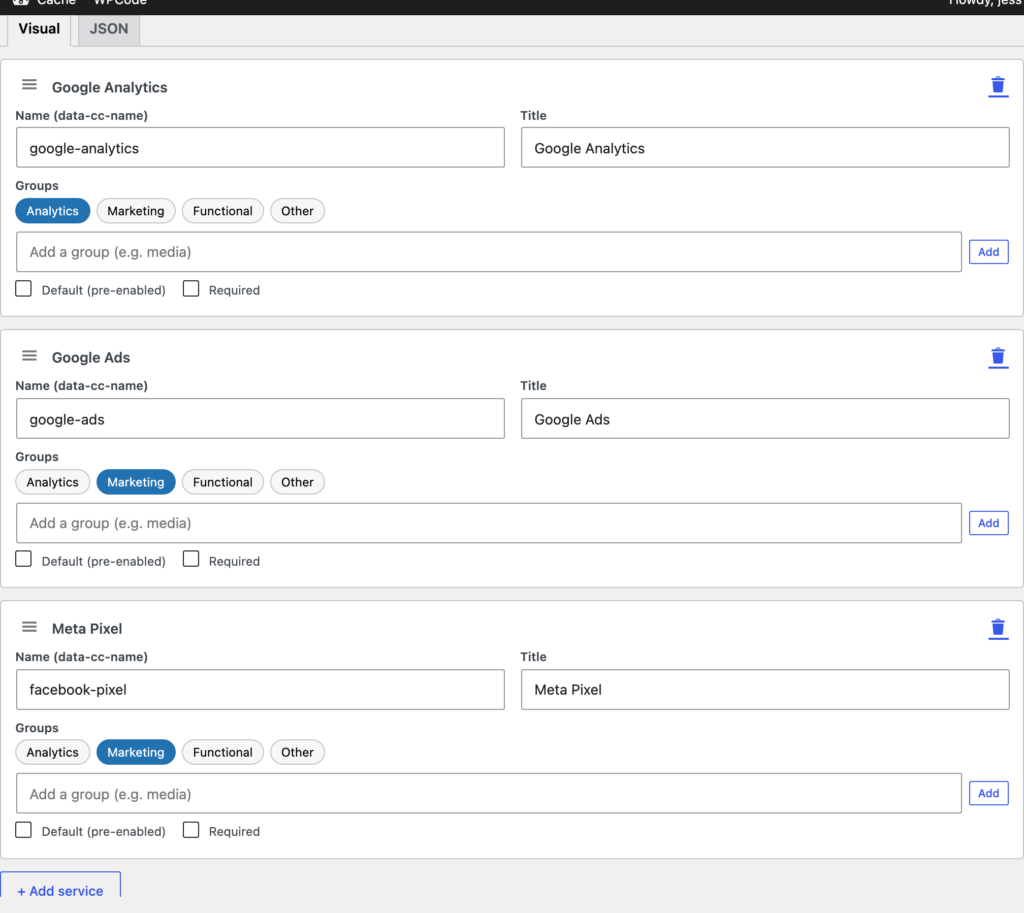
Services are the trackers and tools you want ClearConsent to manage — Google Analytics, Meta Pixel, a chat widget, and so on. You list them, sort them into categories, and decide which ones wait for consent.
Open the Services list
Go to Settings → ClearConsent → Services. You’ll see the services you’ve added and a button to add a new one.
Add a service
Click Add service and give it:
- A name visitors will recognise (for example, “Google Analytics”).
- A slug — the short identifier you use when tagging a script (for example,
google-analytics). This is what links a script to its service. - A category — the purpose it falls under, such as Analytics or Marketing.
Categories and the “Default” toggle
Categories group services by purpose in the preferences modal. For each service you can decide whether it is on by default (granted unless the visitor turns it off) or off until the visitor opts in. Leaving optional services off until consent is the more conservative choice.
How many services can I add?
The free plan manages up to three services. ClearConsent Pro removes that limit, so you can list as many trackers as your site uses.