Install and set up ClearConsent
ClearConsent adds a consent banner to your WordPress site and holds cookie-setting scripts until visitors agree. This guide takes you from activation to a working banner in a few minutes.
Activate ClearConsent
Install the plugin from Plugins → Add New (search for “ClearConsent”), or upload the ZIP under Plugins → Add New → Upload Plugin. Then click Activate.
Open the settings
Go to Settings → ClearConsent. The General tab is where you switch the banner on and decide whether visitors must make a choice before they can browse.
Turn on the banner
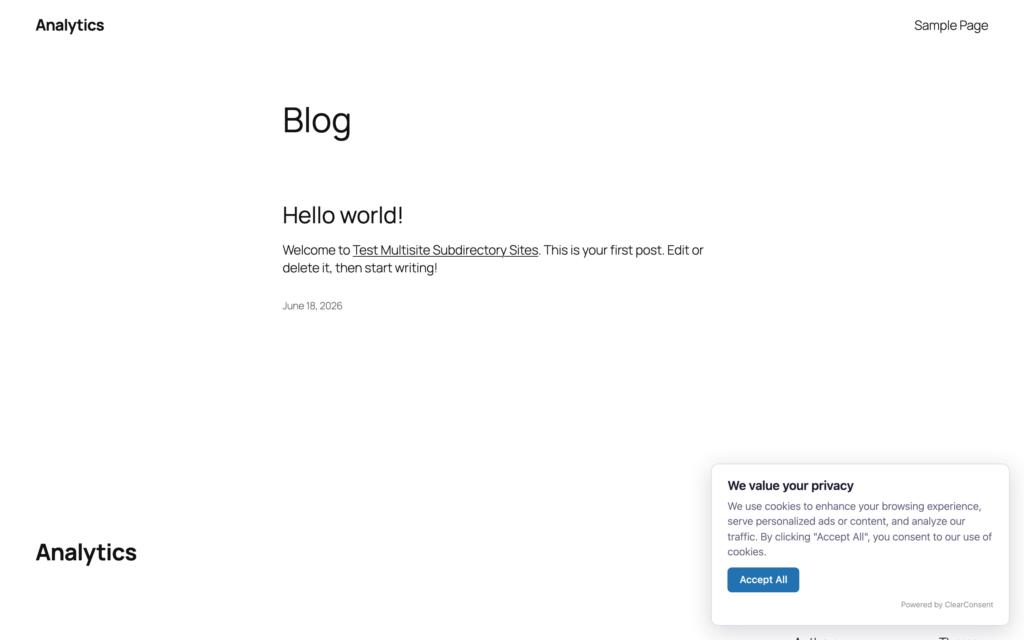
Tick Enable ClearConsent and save. With the defaults in place, the banner shows to every visitor, optional services start switched off, and Google or manually tagged scripts don’t run until the visitor consents.
See it on your site
Open your site as a visitor. The consent banner appears with your notice text and buttons; nothing you’ve gated loads until a choice is made.

What to set up next
With the banner live, the common next steps are:
- Customize your banner text and buttons — title, description, buttons, privacy-policy link, position and light/dark scheme.
- Add and configure services — list the trackers you use (Google Analytics, Meta Pixel, and so on) and choose their categories.
- Enable Google Consent Mode v2 — if you run Google Analytics or Google Ads, send consent signals to Google.
You’ll find a guide for each of these in the Help Center.
ClearConsent gives you the tools to ask for consent and act on it, but no plugin makes a site “compliant” on its own. How you configure it — which services you list, what your banner says, where it shows — is up to you, and ClearConsent doesn’t determine your legal obligations.